ClickCease

The World’s top Cold Wax Medium Academy. 🤍 Become a CWA Member Today

Cold Wax

MEDIUM BASICS

What follows is a brief introduction to painting with CWM, as we use it in our own work and as we teach it in our workshops. Much more detailed information about CWM, tools, materials, and techniques is available to our CWA Members, our Cold Wax Medium Book, and our Video Workshops. We hope you enjoy working with this medium as much as we do.

– Cold Wax Academy Founders // Rebecca Crowell & Jerry McLaughlin

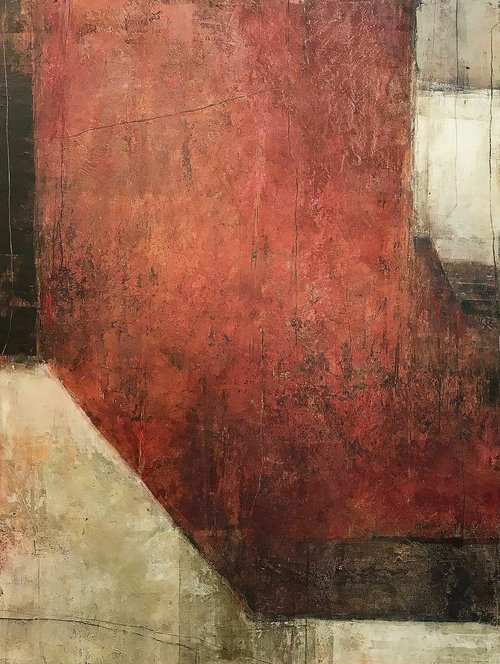
— adobe y negro (v), Jerry McLaughlin. Cold wax, oil, and ash on panel, 18×18 in, 2018

#1 Start with a cradled wood panel or a commercially prepared panel.

Another option is some type of paper made for use with oils. When we use a cradled panel, we tape the wood sides with painter’s tape to keep them clean.

#2 Put a few tablespoons of cold wax out onto the palette and mix in about equal amounts of tube paint with a palette knife, then, using a variety of tools, apply paint to the surface in layers.

The number of layers in the finished painting varies, and there is no set amount of drying time between paint applications.  Feel free to work wet-in-wet, which requires a rather light touch to avoid mud.

(Pro Tip)

With experience, you will start to know the different stages of drying and what effects can be gained at each stage.

When applied in fairly thin layers, the wax and oil mixture will start to set up after a few hours or overnight (faster than oils alone).

The initial layers create a foundation of color and texture, and since they will eventually be covered over, they can be rather randomly and quickly applied with squeegees and palette knives. (Brayers, which need to have a firmer layer underneath, are not very useful when working with wet layers.)

#3 As you continue to build up layers of paint, consider alternating between various colors and between opaque and transparent paints to provide a rich surface.

As the painting develops you might consider dissolving back with solvents or scraping away. Take advantage of the history you have created in your layers.

The way we paint is intuitive. At some point we start to see a direction for the painting that we begin to develop, though we never hesitate to paint over the whole thing or wash out areas with solvent if things are not going well. Although the ideas and direction for our paintings certainly shift and change as we work, they are not random, but always related to our intentions and vision for a particular body of work.

#4 We use many different ratios of wax to paint during the process, depending on the effect we want.

The basic ratio is 50:50, and there are no rules for thin wax layers over thick or the opposite. Powdered pigments or marble dust can be incorporated to create your own color or to thicken the wax and paint mixture, if desired.

As an aside, once the paint is mixed with cold wax medium, there is no need to worry about traditional rules of fat over lean in oil painting.

#5 Once dry, your painting surface needs no varnishing or other special treatment, though you may do so if you like.

Dwelling, Rebecca Crowell. Oil and cold wax on panel, 48x36 in, 2018.

— Dwelling, Rebecca Crowell. Oil and cold wax on panel, 48x36 in, 2018

Looking For More?

Maybe A Video Will Help

The fun is in getting started…

Always look for new objects to use as tools, new ways to create textures, and new mixed media techniques to bring out your ideas with more richness and impact. Cold wax medium provides a great freedom of expression and potential for discovery.

– Rebecca Crowell & Jerry McLaughlin

Cold Wax Academy Video Workshop